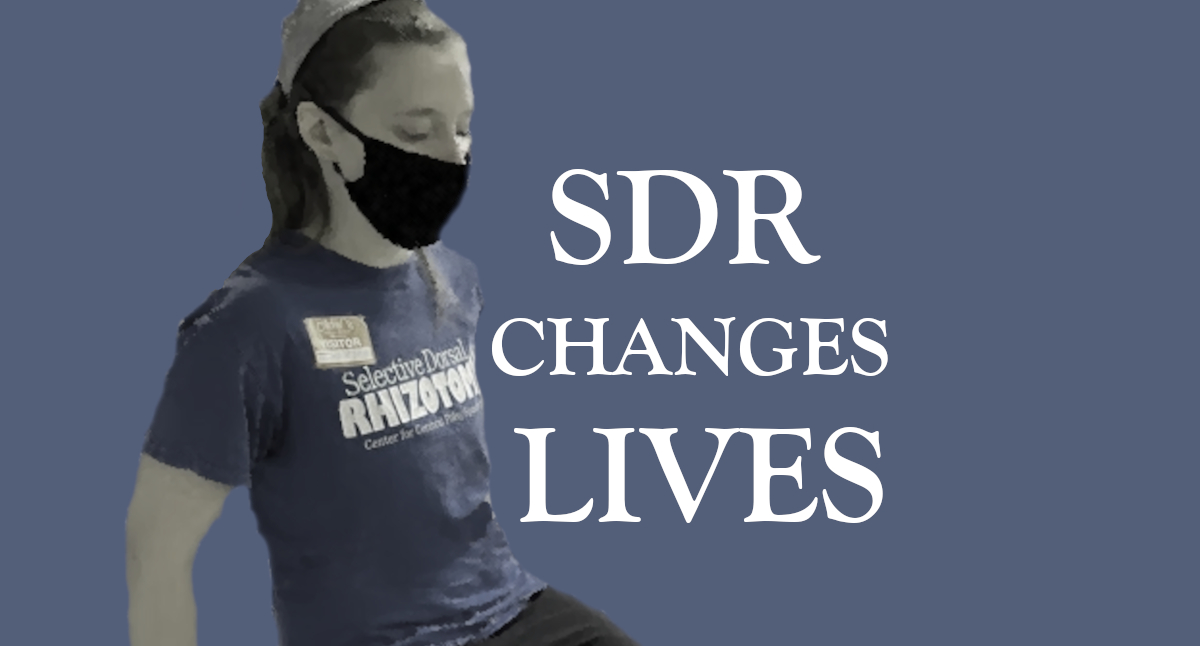
my intensive experience
I plan to update this page in the future with others’ experiences as well, but for now, here are my thoughts!
WHY INTENSIVES?
Here’s why my intensive was worth it for me …
1. My therapists were so knowledgeable about common patterns in people with CP (and post-SDR individuals specifically). Often it feels like the normal “rules” don’t apply to my body, so advice from therapists who aren’t familiar with CP and SDR isn’t always useful. But the St. Louis PTs? They have access to our rule book. 🙂
2. I received a personalized treatment plan. In the evaluation, the therapist assessed my range-of-motion and abilities and spoke with me about my goals. Then they tailored my intensive according to that information. At the end of the week, my two PTs worked together to develop a personalized home exercise plan based on my abilities, goals, and the equipment I had access to at home. I have posted this plan (with their permission) on this page; feel free to adapt it to your own needs!).
3. They can also provide advice about orthotics and other aids. While I was there, they consulted the St. Louis Children’s orthotist for advice for me, and they were able to get me a prescription for new shoe inserts to try.
4. My intensive served as a reminder for me to hone in on strength training. For the first couple of years after SDR, I focused hard on building strength. After that, though, SDR rehab gradually became less of a priority for me next to work, relationships, and other responsibilities. Over the past few years, I have kept up with endurance training through hikes, daily walks, and other forms of exercise, but I stopped doing as much targeted strengthening. Now I am motivated to get back to doing that more consistently.
Pro Tip: TAP INTO YOUR STABILIZERS
Your body has two types of muscles: mobilizers and stabilizers. Your mobilizer muscles create motion, and your stabilizer muscles hold you steady.
People with CP tend to have weak stabilizer muscles, especially if they use assistive devices or always hold on to something for balance.
If you can find a way to safely do an exercise without holding on, that’s ideal—even holding on a little bit lets your stabilizer muscles relax and deprives you of the opportunity to train those muscles. Maybe you can use a gait belt, or have someone stand close who will catch you if you start to fall.
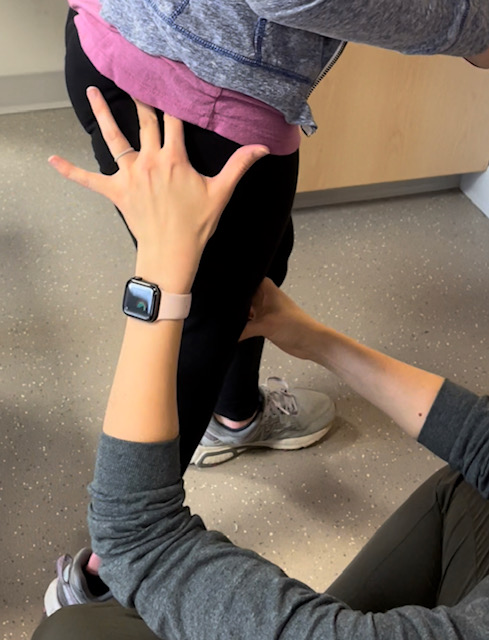
You can also help your stabilizers engage with a sensory trick. For example, if you are balancing on your right leg, you might try having someone lightly touch or tap your right knee (and possibly right hip, though the knee touch alone was effective for me) while you lift your other leg. Post-SDR, people often have trouble “finding” their muscles. This little bit of sensory input can remind your body where the muscle is and encourage the muscle to activate. (Again, it’s just a light touch—not enough to provide support, just to provide proprioception. If you do need actual support, a firm touch or actual holding of your leg may provide extra balance, but then it’s more than just a proprioceptive aid.)
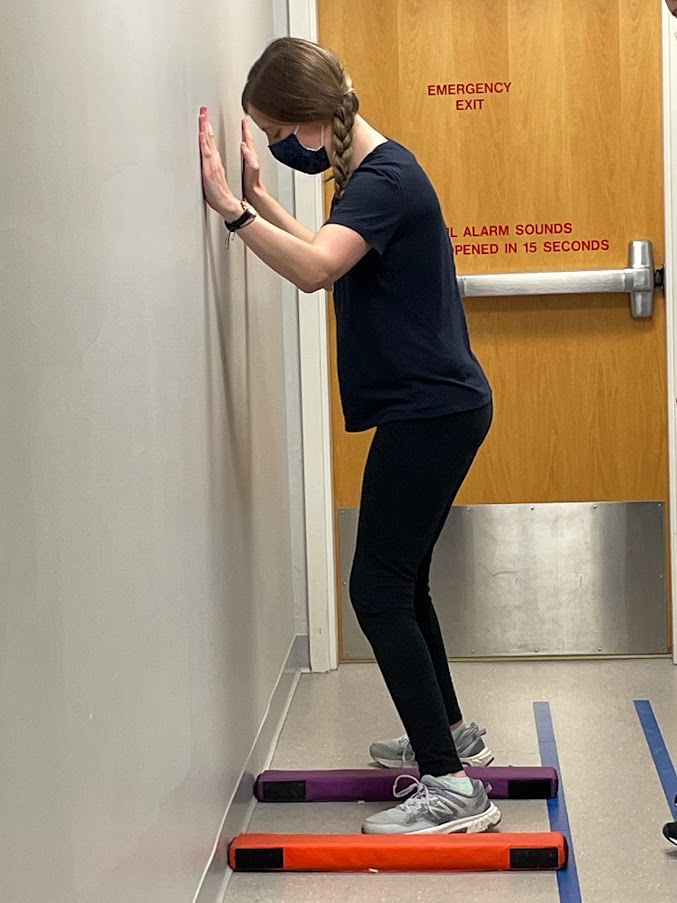
Pro Tip: BALANCE ON BENDED KNEE
When you do balance exercises, bend your knee slightly. Locking your knee out (i.e., fully straightening your knee) engages your quads but prevents your glutes from having to work as hard. Most people have weak glute muscles, especially people with CP; give your glutes a chance to work!
Pro Tip: USE A MIRROR
(You can’t see it in this photo, but I’m watching my form in a full-length mirror!)
My PTs placed a mirror in front of me whenever possible. This is a great way to monitor and improve alignment and provide instant visual feedback to your body about what a movement looks like!
Pro Tip: FINDING BALANCE
Some of our balance issues are neurologically based, but even as adults with CP, we have great potential to improve our balance.
All foot/leg muscles, from ankles to hips, are involved in balance. But for people with CP, weak and underactive hips, glutes, and core are often to blame for balance issues. To improve balance, focus on strengthening and activating those muscles.
One memorable balance tip: As you do a balance exercise, squeeze your core and glutes like you’re trying to hold in a fart. 🙂 That helps you activate the muscles you need!
Pro Tip: ANKLE MOBILIZATION
Both of my PTs worked with me on ankle mobilization, and that was one of the most helpful parts of my intensive. Mobilization is a way of achieving more motion in a joint; my PTs explained that sometimes our ankle bones get locked into place, and we can use the techniques shown here to help release them and achieve a more effective heel cord stretch.
The first video in this section is a demonstration of four different ways you can mobilize your ankle. In the second video, the PT explains the mechanics of the mobilization to show why it works.
A little context about my situation, in case it’s helpful (I imagine many others with CP have similar issues):
After SDR, I had custom shoe inserts made to help control pronation (the inward collapsing of my ankles). They did help with my alignment, but I stopped wearing them after a few months because they seemed to limit my ability to perform higher-level functions in PT (jumping and running).
During one of my intensive sessions, I was practicing stepping down off a step without assistance, and my therapist remarked that she was surprised by my ability to do that, given the amount of stiffness in my ankle.
Here’s what we discovered: When my ankle pronates, I am able to get a decent amount of ankle flexibility. My pronation is essentially a compensation—a way for my ankle to artificially get more range of motion. And I need that extra range for activities such as jumping and running. So that’s why my orthotics have felt so limiting: They hold my ankle up, but that prevents me from being able to flex as much.
Before this intensive, I hadn’t realized that I had limitations in my ankle range of motion; local PTs had tested my range in a way that allowed my ankle to pronate, and I can dorsiflex my ankle quite well. But when my foot is held in straight alignment, I lose a lot of that range.
Going forward, they have suggested that I do exercises and heel cord stretches with my inserts when possible (so I can promote better alignment to protect my ankles and knees, and hopefully achieve more ankle range of motion that doesn’t depend on pronation). While I work on achieving that healthier range, they advised that for other activities (running, jumping, hiking, long walks, etc.), I should continue without the inserts for now. That way, I can still safely participate in these activities that require that extra range of motion I currently can only achieve through pronation (and I won’t lose that range). Then, if I can eventually build up that range in a non-pronated state, I’ll be able to wear the inserts more often and they won’t feel so limiting. Fingers crossed!
A quick note regarding the mobilizations shown in these clips: In my case, because of my pronation, the PT recommended the sitting mobilizations as opposed to the standing one. But everyone’s different; give them all a try and see which one feels like it gives you the best stretch!
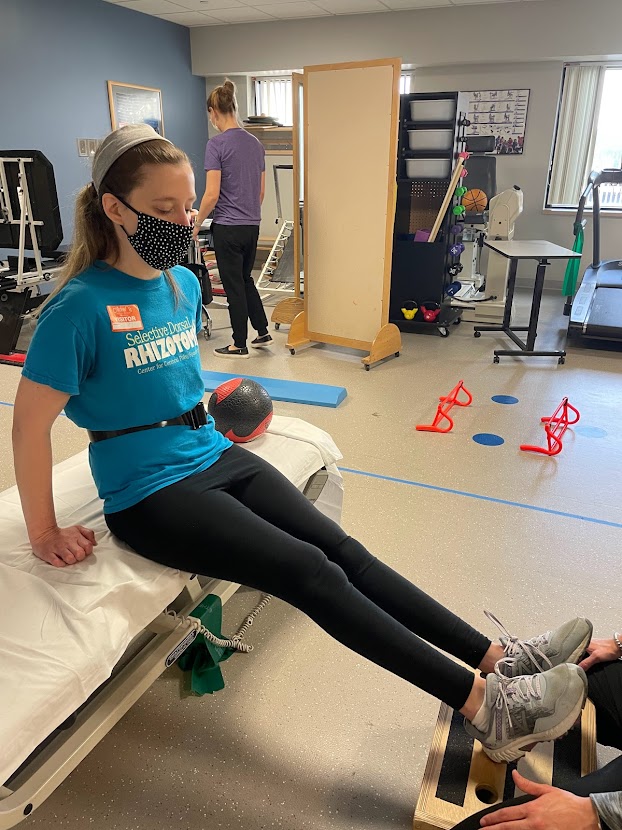
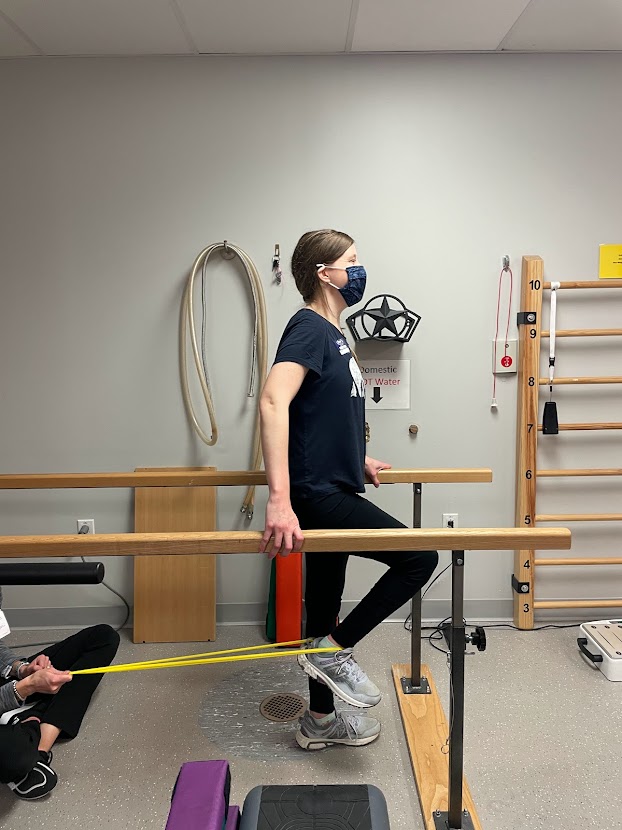
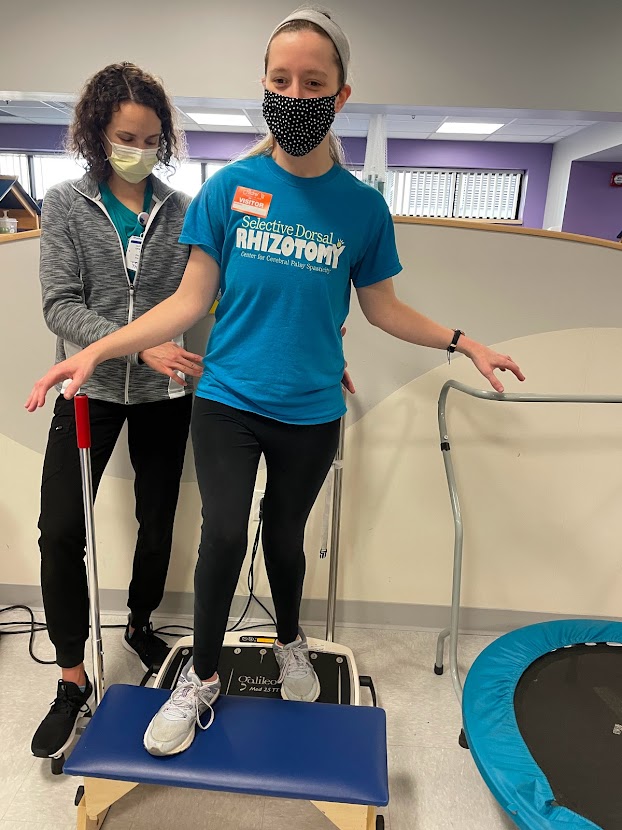
Here’s a sampling of some of the exercises I did! Some of the more intense balance exercises aren’t included here because I asked my mom (who filmed these) to help guard me instead. 🙂 But if you have any questions, just ask!
Home Exercise Program
Suggested Frequency: 30 min / 5x week OR 60 min / 3x week
Vibration Plate Exercises:
- Balance (Between 8 and 10 Hz)
- Single limb balance
- Stand on one foot, focusing on preventing the knee from locking out or crouching too much (bend slightly)
- Start with holding on with one hand, then fingertip assistance, then no hands
- Watch to make sure hips don’t drop
- To increase the difficulty, you can move farther away from the center of the plate (farther out your feet are = more wobble = harder)
- Single limb balance toe taps
- Standing on the vibration plate, lift one foot up onto the step with focus on preventing the knee from collapsing
- Move slowly through the motion
- Single limb balance
- Strengthening (Between 17 and 20 Hz)
- Mini Squats
- Check to make sure that your heels stay in contact with the plate
- Make sure that knees don’t collapse inward
- Can widen stance and/or increase plate frequency to increase difficulty
- Lateral Step Downs
- Make sure that hips don’t drop
- Heel Raises
- Supine bridges with feet on vibration plate
- Mini Squats
TRX:
- Full squats while keeping knees apart (may use TRX for balance)
- Single-leg squats with one foot propped in front with TRX for balance
- As this gets easier, can try lifting the front leg (instead of propping it) to increase the work for the stance leg
- Lunges while holding the TRX
- Focus on keeping weight shifted over the front leg and not letting the front knee collapse.
- Can progress to placing back foot in the TRX for a suspended lunge
- Mountain climbers with feet in the TRX
Other Strengthening Exercises:
Hip Strengthening:
- Side stepping with toes facing forward; do not let your hips rotate to face the direction you’re stepping. Add a Theraband around ankles for increased challenge.
- Standing hip extension with Theraband around legs; do not let your standing leg bend.
- Hands and knees position kicking leg straight back and holding 3 to 5 seconds, lifting leg out to side and holding 3 to 5 seconds
- Stepping over large obstacles while focusing on keeping knee and foot alignment and not turning leg in when stepping over
- Backwards sled push: Stand facing away from a heavy object (such as an ottoman, filled suitcase, or even a manual wheelchair with something heavy in it). Then squat down and backwards push the object with a focus on having soft knees. Can try forwards sled push too.
Quadriceps Strengthening:
- Wall squats; keep back and hips on the wall and keep knees bent
- Step downs; do not let your knee fall inward, and push all the way straight as you come back up to standing (could step down off of vibration plate)
- Step ups to a large step while holding a weight or something in hands, with focus on pushing through the stance leg and then driving the opposite knee up toward your stomach (can use a gait belt or TRX for balance support as needed)
Core Strengthening:
- Planks on upper extremities or on elbows, with focus on keeping abs engaged and not arching your back
- Supine knee to chest with focus on keeping the back from arching (bicycling motion)
Balance:
- Standing balance with one foot propped on a small step or on a ball, working on shifting the weight to the standing leg. Focus on attaining knee extension without locking out the knee, keeping trunk straight and hips level. As this becomes too easy, slowly work on lifting your foot off the ball. For an additional challenge, add a “distractor” activity, such as brushing teeth, throwing a ball, or tapping something.
- Standing on an unstable surface, such as a balance air disc or a Bosu ball (flipped with non-squishy side facing up, as this is harder); reach outside base of support and rotate trunk for increased challenge.
- Stepping over various obstacles with focus on moving slowly and fully clearing the object with your toes
- Toe taps to a small cone with or without upper extremity support (smaller objects are best for toe taps, for motor precision)
Stretching:
- Propping heels on box when sitting at desk for hamstring stretch
- Can also work on bringing toes up toward head for active stretch
- Standing heelcord stretch (with shoe inserts to improve alignment, while working on keeping toes and knees straight)